How to Get a Convincing Self-Tan at Home
In 2021, the global self-tanner market was valued at around $1 billion. By 2029, it’s expected to be almost $1.6 billion. That major increase began during the pandemic, where DIY was the only option for, well, everything. Today, getting a great self-tan at home isn’t a last resort; it’s the preferred tanning method for many people (just ask the almost one billion views the hashtag #selftanner has on TikTok).
“Our sales of tanner have gone up 300%, with people feeling like they want a lift,” James Read (who has bronzed Mariah Carey and Lady Gaga) of his eponymous line, told us back in 2020. “Everyone’s doing FaceTime and lots of Instagram videos so, things have really picked up.”
Squeezing in a self-tanning session can also save you time on the daily, delivering an evened-out complexion that won’t wash off like foundation does. “I’m seeing a trend where people aren’t necessarily using makeup and are letting their skin breathe, but still want a hit of coverage,” says Jules Von Hep, founder of Isle of Paradise and trusted tanner to Kate Moss and Sienna Miller. The safest way to get that bit of colour is by using a product with DHA (that’s short for dihydroxyacetone, an ingredient derived from sugar cane and beets) rather than trying to catch some rays. No matter the weather, you still need sunscreen every time you go outside—and even inside—to protect your skin from cancer-causing and aging rays.
Scared of a streaky fake-bake nightmare? We called on the pros to walk you through every step of the way, and rounded up our go-to self-tanners that won’t leave you looking orange—swear!
Can people of all skin tones use self-tanner?
You bet; though self-tanning products are often marketed as a bronze boost for light skin tones, dark complexions can also benefit. “We see a removal of any grey or ash undertones when self-tan is applied on dark skin tones,” says Von Hep (as such, his brand Isle of Paradise offers a more inclusive approach to tanning). “It’s not about a colour change but a more uniform and even finish on the surface of the skin.”
That’s why his line of self-tanners borrows from the same colour-correcting principles you often see in makeup: “We use a violet pigment within our dark range to counteract any sallow undertones, green pigment in our medium to hide redness, and peach in our light range to add brightness.”
Which formula should I pick?
In the past decade, the self-tan section seems to have exploded, with more and more brands emerging and each offering its own gamut of lotions, mousses, mists and more. So how do you know which is best for you? “Pick your formula based on your skin type and your lifestyle,” says St. Tropez skin-finishing expert and runway glow-pro Sophie Evans.
First, the basics: If you have dry skin, a lotion or gel will lend much-needed hydration, while a quick-drying mousse is better suited to oily types. (Body mists are great here too but can be a bit trickier to apply without making a mess of your bathroom.) From there, you can also consider other factors. For example, pick an express formula that only needs to stay on for an hour if you have a workout planned or tend to get sweaty easily. Or, if you’re a skincare fanatic, self-tanning drops that can be mixed into your serum, moisturizer or body lotion might be right up your alley. (Bonus: Drops made for face will often incorporate hydration-boosting hyaluronic acid or skin-brightening vitamin C.)
The other main consideration is whether you want to go with a clear formula or something that leaves behind an instant bronze while you wait for the DHA to kick in. “If you’re new to self-tan, it’s easier to use something with a guide colour,” says Evans, adding that it helps you make sure you don’t miss a spot. Sound like too much too fast? If you’re a total newbie and are feeling intimidated by the whole thing, try a gradual tanner, which builds the colour up slowly over several applications.
What do I have to do *before* I start?
“The better condition your skin is in, the better your tan will last,” says Evans. “Think of your skin as a canvas and the self-tanner as paint.” To start, you’ll want that canvas completely clean, because deodorant and perfume can sometimes react with self-tanner and leave behind a bluish or greenish hue. Hard pass. It also helps if you use a body scrub the day before to whisk away dead skill cells and get you set for a more even and long-lasting tan.
Next, hit your elbows, knees, hands and feet with oil-free moisturizer. (Oils can break down self-tanner, so make sure to check the ingredients.) These dry areas can come out a lot darker than the rest of your body, so the lotion will act as a barrier to limit how much self-tanner gets absorbed there.
A little more moisturizing can help on your face too, says Read. “I like to do a face mask the same day to give skin that extra hydration.” If, on the other hand, you’re prone to breakouts, Read has a trick for that too: “Rub an ice cube over the face first to seal your pores, then pat dry with a tissue before putting tanner on.”
What if I want to shave or wax?
Get it done 24 hours in advance. “When you shave or, particularly, wax, hair follicles open up,” explains Evans. “If you put tanner on top, it can develop into a spotty look.” You’ll also want to hold off on shaving and waxing right after your application, as both will shorten your tan’s lifespan. To get around this, Read suggests using an electric shaver. “It just takes off the top layer of hair, whereas, if you wet shave, it strips dead skin as well so you’re effectively exfoliating.”
It’s go time—what’s the best way to apply self-tanner?
No matter which formula you choose, you’ll want a tanning mitt to help spread the self-tanner evenly and keep your palms protected. You can start on any part of your body that you like, but it helps to follow a system. “Map your body out in stages so you don’t miss bits,” says Read, who likes to start with his face. “It’s the first thing you see, so it’s the first thing you should concentrate on to make sure the colour is perfect.”
For a natural look, apply just one layer on your face and two on the rest of your body. Evans recommends being generous with the self-tanner: “You get streaks from lack of product.” It should be easy to glide on, she says, and you want to overlap the areas so that you don’t miss a spot. Don’t worry, it won’t come out darker where you double up, adds Evans. “As long as the skin’s covered, you can’t go wrong.”
The only areas where you don’t want to load up on product? Your hands and feet, which you will have already moisturized during your prep. “Stop at your ankles and wrists,” says Evans. “Then use the excess on your mitt to fade down and between your toes and fingers.” (You’ll then want to follow up with even more moisturizer; more on that in a minute!)
Any tips for acing the application on my face?
While you technically can use the same formula on your face as your body, a drying mousse could leave the delicate skin on your face feeling parched. Plus, you’ll be missing out on all the skincare-inspired ingredients that are packed in for-face formulas.
To build your tan up slowly, add tanning drops to your go-to moisturizer a few times a week. If you want to get glowing ASAP, try a spray-on self-tanner. “Hands down, the easiest way to do your face is with a mist because it hits every area,” says Evans. She recommends spraying it down the middle of your face and neck, then going over each side of your profile—no need to rub it in.
After you’re done spraying, Von Hep has a few tips to finish if off: “Take a clean kabuki brush and buff along your hairline, then use the residue you’ve picked up and go over your ears and eyelids.” He also recommends going over your brows with a spoolie brush to make sure the self-tanner doesn’t gather in the hairs, and if you’re tanning before bed, don’t forget to brush your teeth before you get started.
How on earth do I cover my back?
No worries if you don’t have someone to lend you a helping hand. “Turn your mitt around so that the foam sits on the back of your knuckles—it will reach further,” says Von Hep. “If you still can’t reach every spot, tape the mitt to a wooden spoon.”
Will I overdo it if I leave the self-tanner on for too long?
Even if you wait a whole day to shower, your skin will stop getting darker after the first eight to 12 hours, depending on the formula (or, for an express tanner, that limit might be as short as a couple hours). “Skin can only absorb so much DHA,” says Evans. For the same reason, applying an extra thick layer won’t make a difference either.
What’s the secret to making it look real?
“The hands are the first thing that give away your tan,” says Read, who recommends you pay them extra care after you finish applying your self-tanner. “Naturally, when you tan, you don’t tan the sides of your hands or wrists; it fades naturally. So, I always put a little moisturizer on the wrists and then buff into the self-tan so you don’t get a tan line.”
Go over knuckles, ankles, the backs of your heels and between fingers and toes with moisturizer too. “Get in the habit of using a wet wipe on nails and cuticles,” adds Evans. “If tan goes into your nails and cuticles, it doesn’t wash out, so you’ll have to wait for it to grow out.” (Use wipes instead of washing under the faucet to avoid splashing the water up onto your forearms.)
Oops! How can I fix mistakes?
“The real trick with tanning is to not get yourself in that state in the first place,” says Von Hep. “Really be meticulous with how you prep and apply—and the buffing right after really does make a difference.”
Still, should you find yourself in need of a speedy removal, most self-tanning brands now sell removal products that you leave on a skin for about five minutes, then hop in the shower and scrub with an exfoliating mitt to make your colour disappear. In a pinch, Evans suggests cutting up lemon and mixing it with baking soda for a DIY tan eraser.
How do I make this faux glow last as long as possible?
Moisturize, moisturize, moisturize. You’ll want to use an oil-free lotion or cream daily to stretch out your tan’s lifespan, which should be about five to 10 days. “A good trick is to use an after-sun lotion after three or four days and mix in some tanning drops,” says Read. “You’ve only added enough drops to pop your colour, not to tan you, and the after-sun works to help the tan last longer.”
Ready to get your tan on? Here are the best self-tanners
Best Self-Tanner for a Customized Glow
James Read Click & Glow Tan Drops
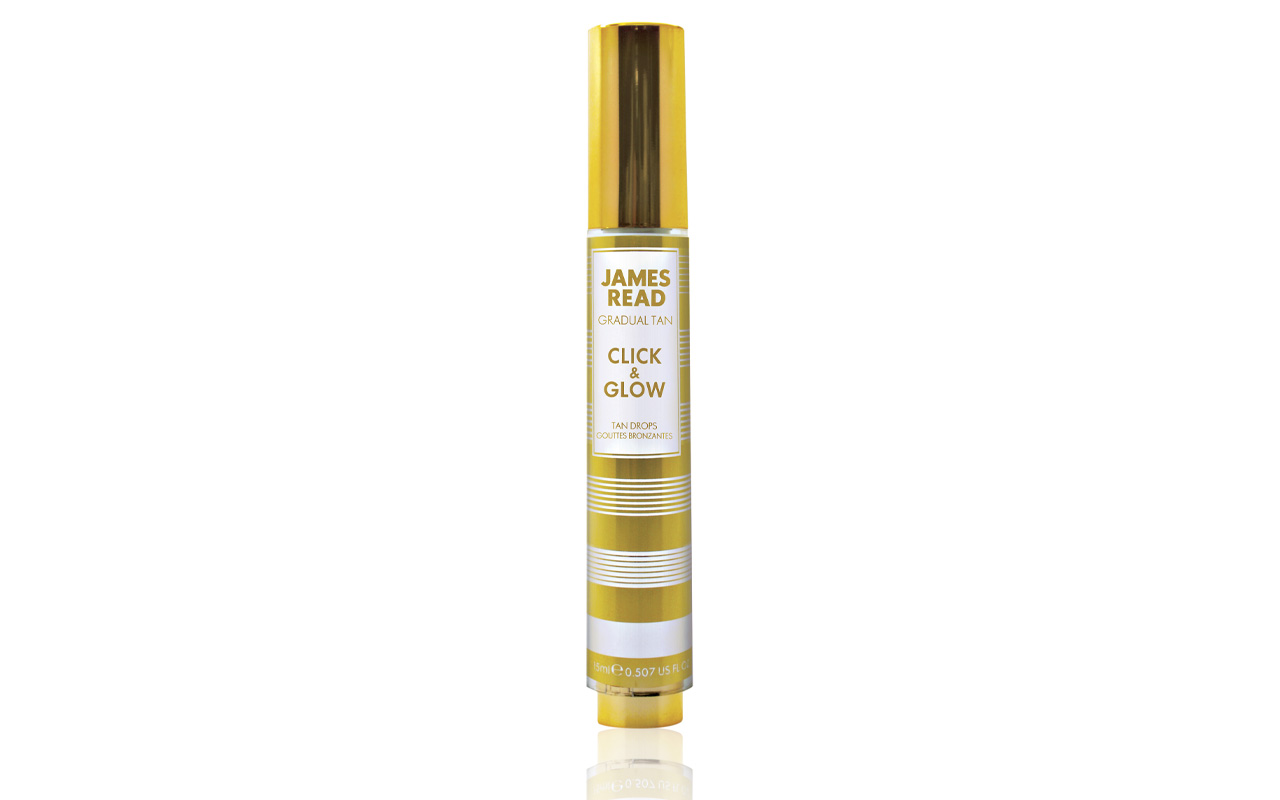
Mix two to three drops of this gradual tanner with your facial moisturizer to build your bronze over time and get an extra hit of hyaluronic acid and vitamin C. The carry on-friendly size makes is a great way to revive your colour mid-vacay, too (for whenever we do that whole thing again).
$45, jamesreadtan.ca
Best Self-Tanner for When You’re in a Rush
Bondi Sands Aero 1 Hour Express Aerated Self Tanning Foam
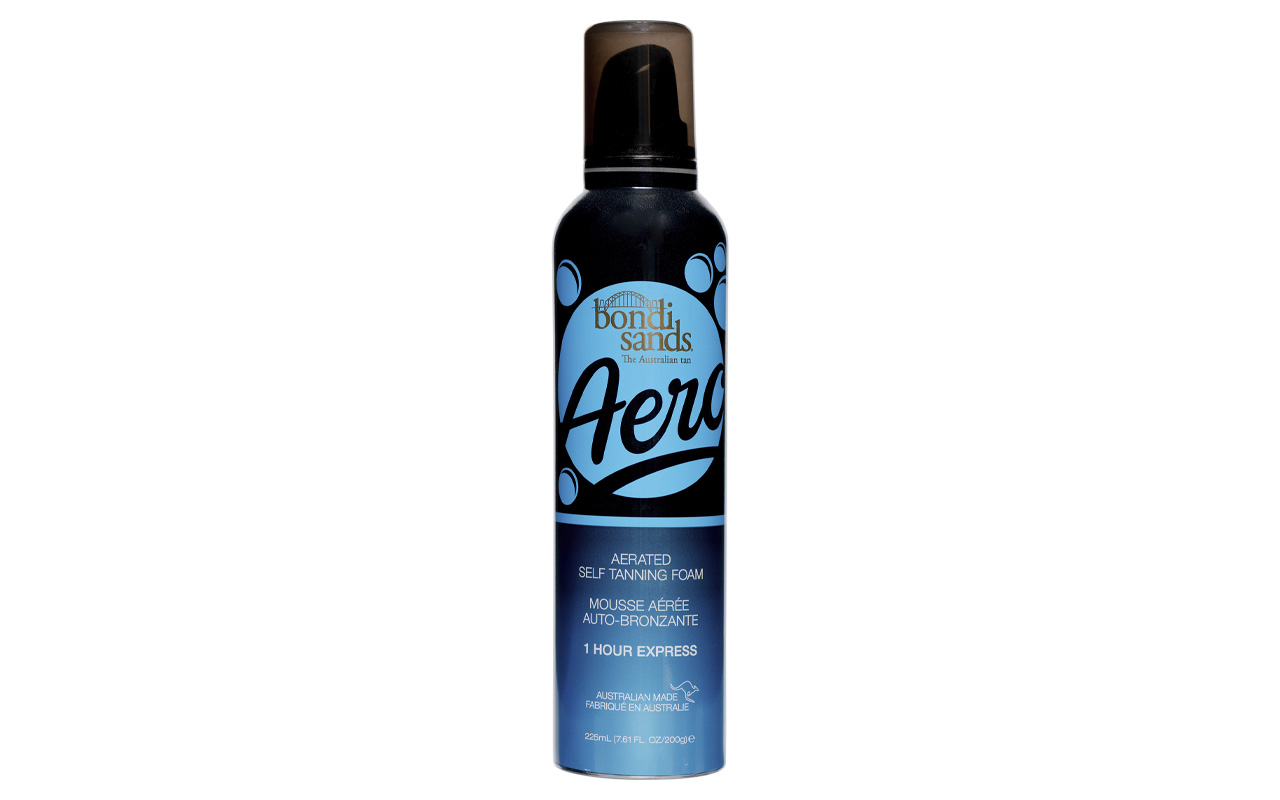
This Australian-made brand just landed in Canada, delivering that Down-Under glow in easy-to-use mousses. This coconut-scented formula only needs an hour to develop—perfect to get you glowing for a last-minute Zoom happy hour.
$40, beauty.shopperdrugmart.ca
Best Self-Tanner for Dark Skin
Isle of Paradise Glow Clear Self-Tanning Mousse in Dark
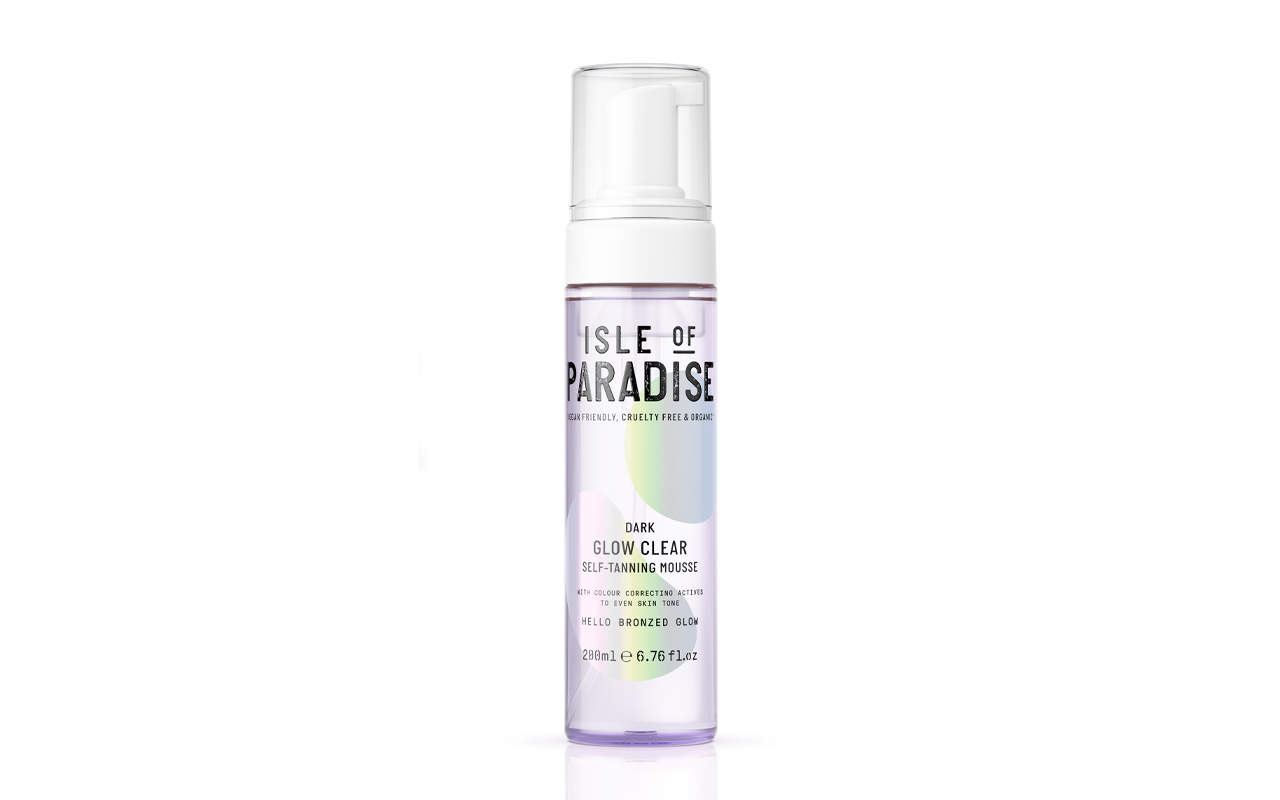
After years of using colour-correcting makeup as a follow-up to self-tanner on his celeb clients, Jules Von Hep rolled up his sleeves to launch his own colour-correcting self-tanning line, Isle of Paradise. (P.S. they also make the prettiest mitt in the game!) This formula includes violet pigments to combat sallowness in dark skin tones.
$60, Amazon
Best Self-Tanning Mist for Face
St. Tropez Self Tan Purity Bronzing Water Face Mist
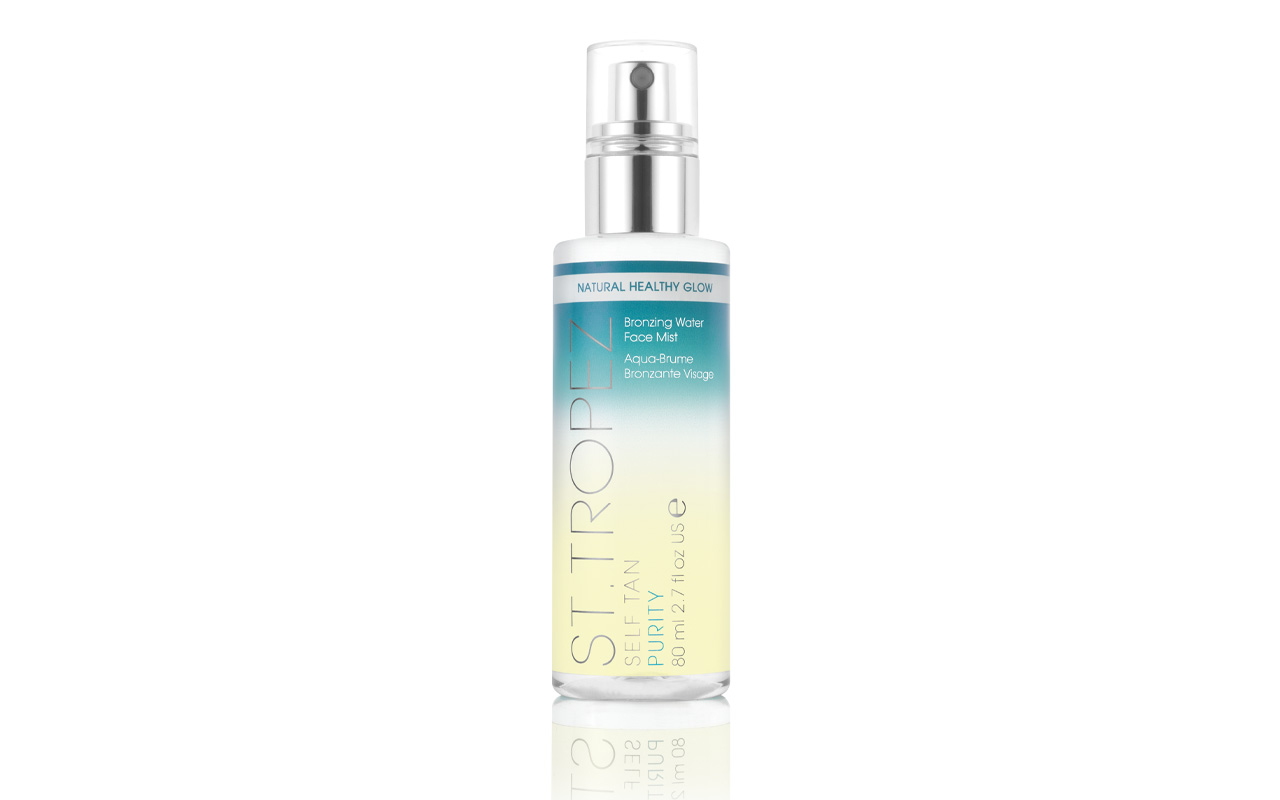
This lightweight antioxidant-loaded spray makes it easy to cover your face, with no rubbing or blending needed. It goes on clear (with a slight sheen that lets you see where you’ve applied) and then develops over four to eight hours. Bonus: the mist works over top of makeup too.
$42, sephora.ca
Best Gradual Self-Tanner
Jergens Natural Glow + Nourish Daily Moisturizer
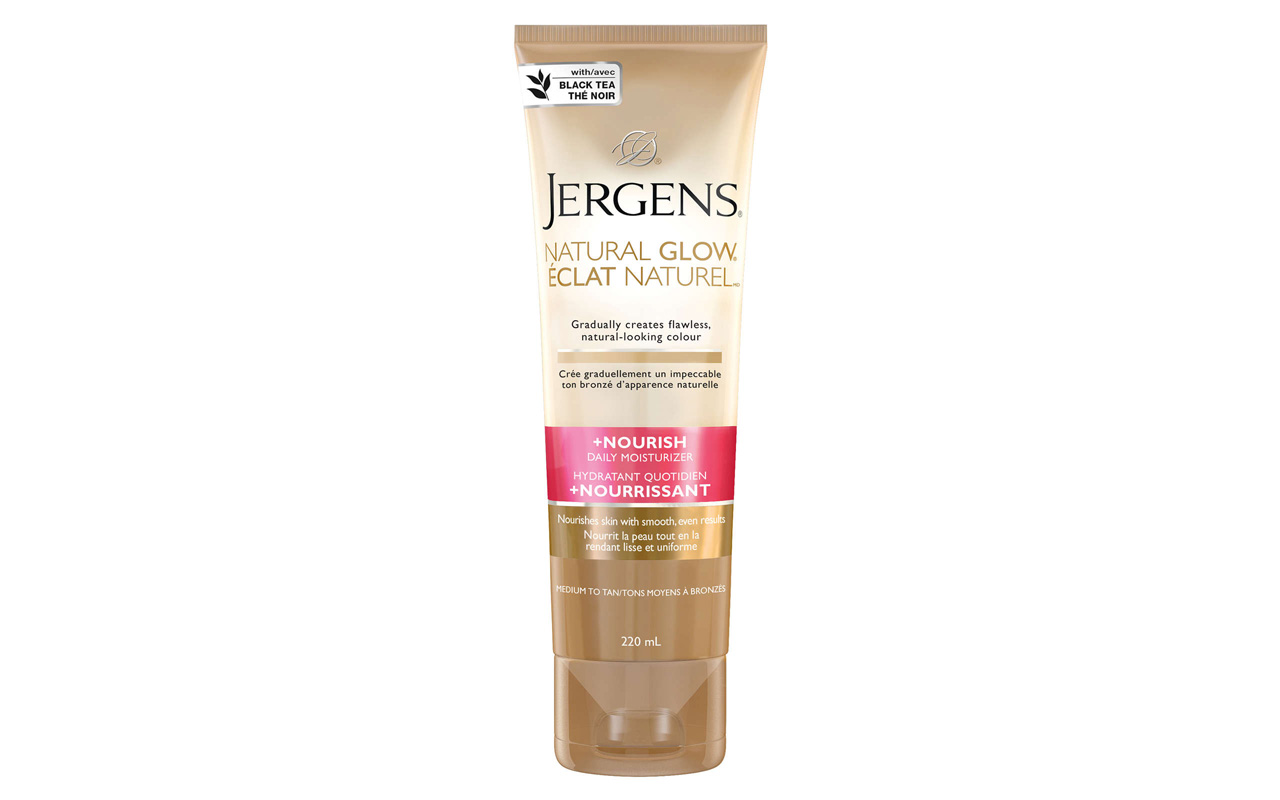
An oldie but a goodie, this lotion can be applied daily to get your tan going slow and steady (expect to see results in about a week), making it a great pick for the tan-shy. Its glycerin and vitamin E leave your bod feeling super soft, and also help the subtle colour stick around longer.
$15, beauty.shoppersdrugmart.ca
The post How to Get a Convincing Self-Tan at Home appeared first on FASHION Magazine.